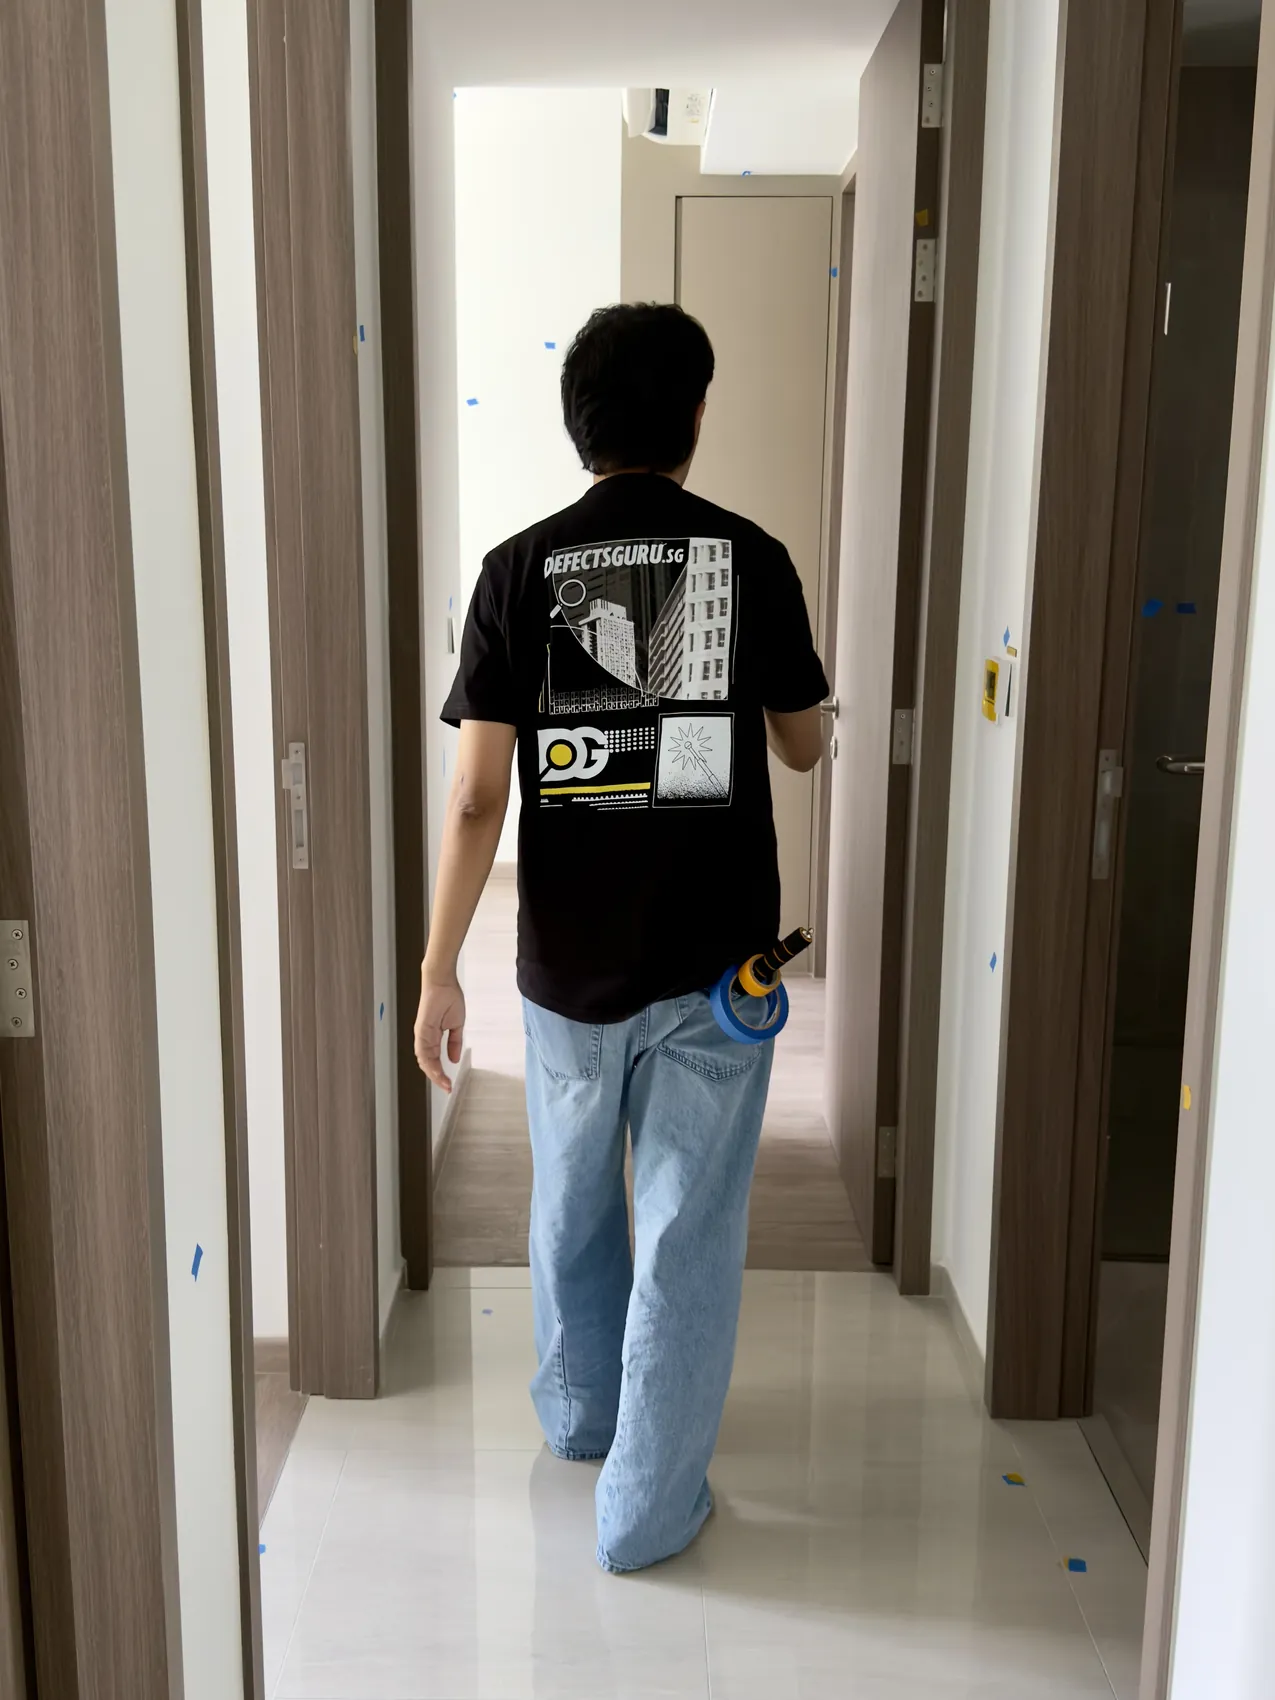
The Complete BTO Defect Checklist (2026)
Room by room, the exact defects to flag before your HDB Defects Liability Period runs out — and how to test for the ones that hide in plain sight.
Your BTO looks immaculate on key-collection day — fresh paint, gleaming tiles, that new-flat smell. That is exactly the problem. The defects that cost the most later are the ones a happy first walkthrough never catches, and in a new HDB flat you have a fixed, fast-closing window to make HDB fix them for free.
The short version
- New HDB flats carry a 1-year Defects Liability Period (DLP) that starts on your key-collection date.
- HDB advises reporting all defects within 30 days of key collection and before you start renovation.
- Inside the DLP, HDB rectifies genuine construction and workmanship defects at no cost to you.
- Construction quality is benchmarked nationally by BCA CONQUAS — the yardstick for what counts as a defect.
- Do not just look — tap, pour, and test. Most serious defects are invisible to the eye.
Why the first 30 days decide everything
Every new HDB flat comes with warranty-style cover under a 1-year Defects Liability Period (DLP) that begins the day you collect your keys. During that year, HDB will rectify construction and workmanship defects at no cost to you — which is exactly why a thorough HDB BTO defect check early in that window pays for itself.1
But there is a sharper deadline inside it. HDB advises owners to report all defects within 30 days of key collection, before commencing renovation works. Reporting before renovation matters: once your contractor has drilled, hacked and painted, it becomes far harder to prove a defect was the builder’s fault and not your reno team’s.1
How HDB’s Defects Liability Period actually works
You do not need to chase a contractor — you report directly to HDB. During the DLP you can submit a rectification request online, or at the Building Service Centre (BSC) located in your precinct. HDB also puts a QR code in your Welcome Kit that takes you straight to the reporting channel.1,2
- Inspect thoroughly before any renovation begins, ideally on or soon after key collection.
- Log every defect with a photo and the exact location (room, wall, fixture).
- Submit your rectification request via the QR code in the Welcome Kit or at your Building Service Centre.
- Let HDB’s contractor rectify, then re-check each item once they say it is done. 1,2
The standard your defects are measured against
When you tell HDB “this is a defect,” the unspoken question is: by whose standard? Singapore has a national answer. The Building and Construction Authority (BCA) runs CONQUAS — the Construction Quality Assessment System — a national standard for assessing the construction workmanship quality of new building projects, introduced in 1989 and accepted internationally.3
CONQUAS assesses three areas that map almost exactly onto your checklist: internal finishes (floors, internal walls, ceilings, doors, windows and basic M&E fittings), installation methods and functional tests (waterproofing, tiling, timber flooring, window installation), and external finishes. Framing a complaint against CONQUAS turns “I don’t like it” into “this falls short of the recognised workmanship standard.”3
A defect documented against a published quality standard is one a developer or HDB contractor finds very hard to wave off as “acceptable.”
The room-by-room defect checklist
Work one room at a time and finish a room before moving on — defects hide when you wander. In a standard BTO, expect uPVC internal doors and frames and glazed porcelain tiles in the kitchen and bathrooms; check finishes against what HDB specifies for your flat.1
- Walls and ceiling free of cracks, dents, bubbling or patchy, uneven paintMed
- Tiles or vinyl: no chips, lippage (uneven edges) or hollow sound when tappedHigh
- Skirting flush to the wall with consistent caulking, no gapsLow
- Main door opens/closes smoothly, locks engage, seal and viewer intactMed
- Every light point and power socket works (test with a charger)High
- Sink drains fast with no leak under the trap; tap has steady flow and pressureHigh
- Wall and floor tiles sound solid (no hollowness) and sit levelHigh
- Floor falls toward the floor trap — pour water and watch it drain, no pondingHigh
- Cabinet doors and drawers align, close flush and stay shutLow
- Service yard / household shelter door and bolts operate correctlyMed
- No water ponding after you flood-test the floor — it must drain to the trapHigh
- Silicone sealant around basin, WC, shower and floor-wall joints is continuous and cleanHigh
- WC flushes fully and refills without running; no leak at the baseHigh
- Wall and floor tiles solid when tapped; grout even and unbrokenMed
- Door clears the floor, ventilation/exhaust works, no damp smellLow
- Doors aligned in their frames, no rubbing, locks and handles secureMed
- Windows open, lock and seal; rollers and stays smooth, no gaps at the frameHigh
- Walls and ceiling crack-free with even paint; no damp patches or stainsMed
- Flooring level and consistent; skirting neatLow
- Socket, switch and any aircon point work and sit flushMed
- Every window sash locks and the rubber seal is intact (a key leak path)High
- All uPVC doors and frames are undamaged, square and operate cleanlyMed
- Distribution board labelled; test that the RCCB/safety trip worksHigh
- Every socket live and correctly earthed; no scorching or loose platesHigh
- All lighting points functional; ceiling fan hook-point present where expectedLow
How to actually test — not just look
The reason owners catch fewer than five defects unassisted is simple: they look instead of test. Three techniques find the majority of serious issues.
- Tap every tile with a coin or light rod. A solid “tock” is good; a hollow “drum” means the tile has debonded from the screed and may crack or pop later.
- Pour water across each wet-area and kitchen floor and watch where it goes. It should run to the floor trap with no ponding — proof the floor falls correctly and the drainage works.
- Test every outlet with a phone charger and every light with its switch. A socket that looks perfect can be dead or wired wrong. 4
After the inspection: getting defects fixed
Submit your full list through HDB’s rectification channel — online or at your Building Service Centre — within that 30-day window and before renovation. When HDB’s contractor reports each item as done, re-inspect it yourself. Rectification is only complete when the fix holds, not when the ticket closes. For the exact submission steps, see our guide to submitting defects to the HDB BSC.1,2
If your list is long, the defects are technical (waterproofing, M&E, hollow tiles), or you simply want certainty before the clock runs out, a professional inspection pays for itself by catching what a first-time eye misses — and documenting it to a standard HDB acts on. Wondering what that costs? Our BTO defect check price guide breaks it down by flat type.
| Flat type | 1-Trip | 3-Trip | 5-Trip |
|---|---|---|---|
| 2-Room | $109 | $199 | $349 |
| 3-Room | $159 | $249 | $439 |
| 4-Room | $189 | $279 | $529 |
| 5-Room | $199 | $309 | $619 |
| 3Gen | $219 | $369 | $719 |
Frequently asked
How long is the HDB defects liability period for a new BTO flat?
New HDB flats are covered by a 1-year Defects Liability Period that begins on your key-collection date. During that year, HDB rectifies genuine construction and workmanship defects at no cost to you.
When should I report BTO defects to HDB?
HDB advises reporting all defects within 30 days of key collection and before you begin renovation works. Reporting early — and before any drilling or hacking — keeps the defects clearly attributable to construction rather than your renovation.
How do I report defects in my new HDB flat?
During the Defects Liability Period you can submit a rectification request online or at the Building Service Centre located in your precinct. HDB also provides a QR code in your Welcome Kit that links to the reporting channel.
Are slight tile colour differences or grout-width variations defects?
No. HDB notes that slight colour variation in floor tiles or timber flooring, and small differences in grout width, are normal characteristics of natural materials rather than defects. Focus your list on cracks, hollow tiles, leaks, misalignment and non-working fittings.
What happens after the 1-year DLP ends?
Once the DLP ends you engage and pay your own repair contractor for issues, though you can still approach your HDB Branch for assistance. That makes a thorough inspection in the first weeks far more valuable than one done after the year is up.
Sources & references
Every link below was checked against the live source. Regulations change — confirm specifics for your project before relying on them.
- 1A Guide to Defects Inspection for Your New HDB BTO FlatHDB · MyNiceHome — 1-year DLP from key collection; report within 30 days before renovation; reporting via Welcome Kit QR / BSC; normal material variations; uPVC doors and glazed porcelain tiles.
- 2Rectification of Defects in New FlatsHDB — Submit a rectification request during the DLP online or at the Building Service Centre; after the DLP, owners engage their own contractor and may approach the HDB Branch.
- 3CONQUAS — Construction Quality Assessment SystemBuilding and Construction Authority (BCA) — National standard for construction workmanship quality, introduced 1989; assesses internal finishes, installation methods and functional tests, and external finishes.
- 4A Step-By-Step Walkthrough To Check Your BTO For DefectsStacked Homes — Practical testing techniques: tap tiles for hollow sounds, pour water to check drainage, test each outlet.